So, loads of people said ‘you just put some sand down and you’re done, aren’t you?’ – how wrong were they!
Little did I know that within a few months I would become a ‘Péntanque bore’ full of knowledge I never expected to have or feel the need to impart to my fellow human beings; but since almost breaking my back hand depositing some 12 tonnes of various materials to achieve a finished result fit for purpose, but which doesn’t exactly display the many, many hours put in to complete it, I feel obliged to share…
So, to the revelations:
Sand is a complete ‘no-no’. The boule once tossed will simply land and stay put.
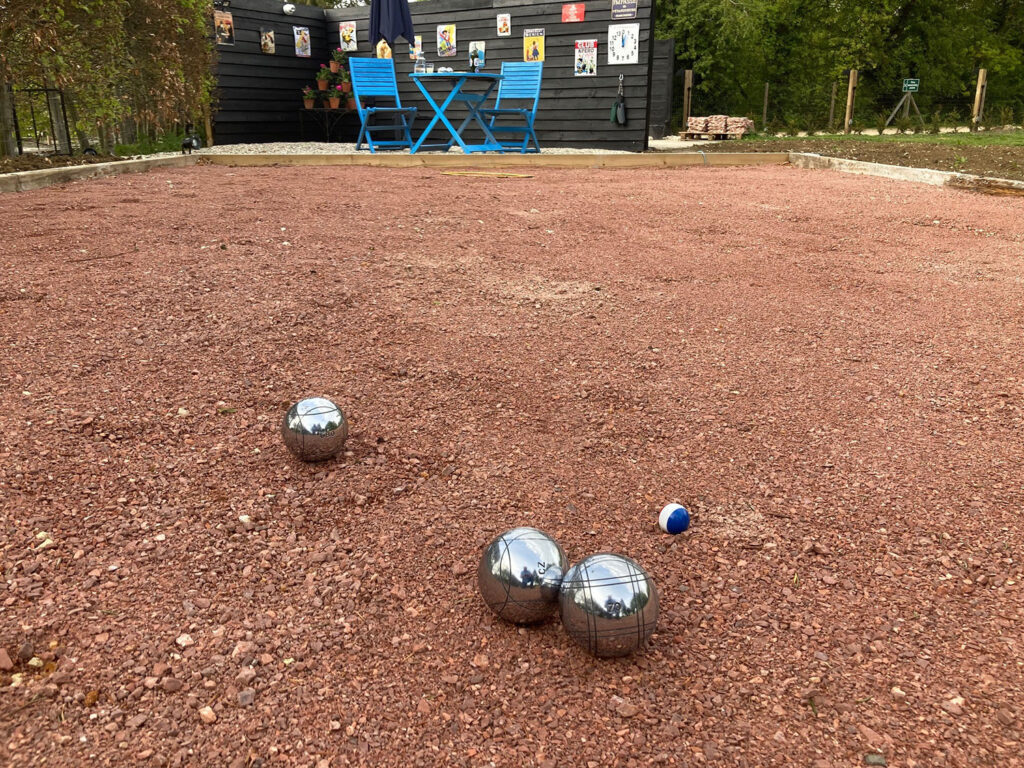
Shouldn’t the surface be smooth like a Billiard table? No, an uneven surface separates the ‘men from the boys’ or to avoid being called sexist, the better players from the novices. They will ‘read’ the surface as they play and invariably come out on top and see each difference piste as a challenge to conquer just as much as their opponents.
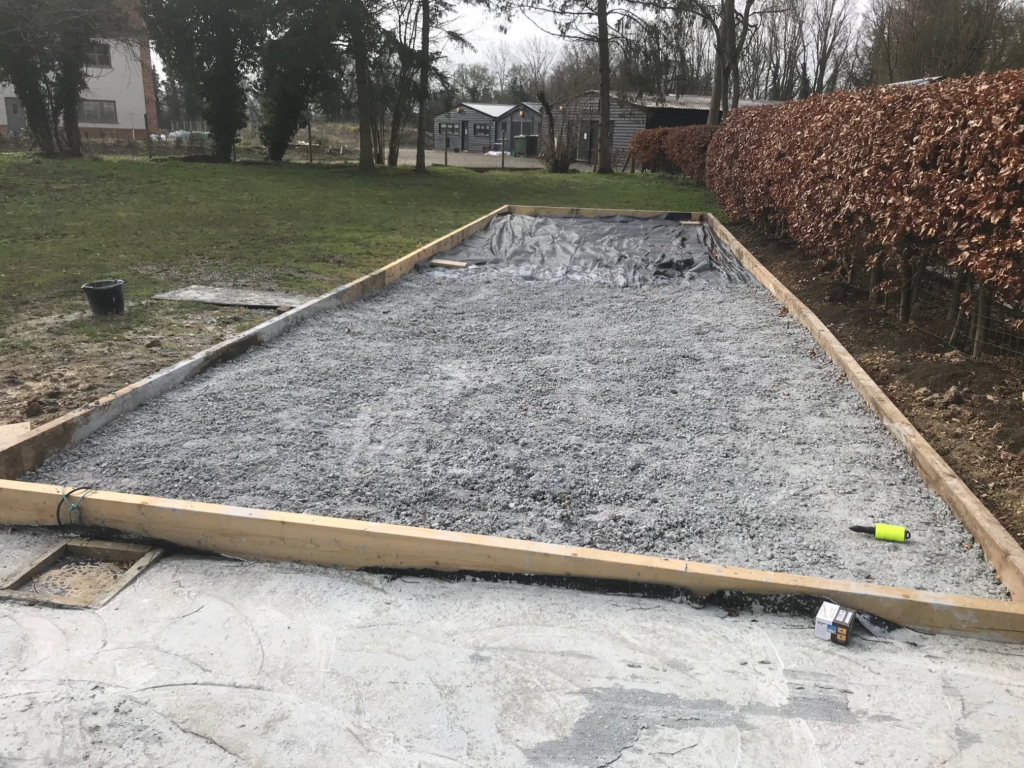
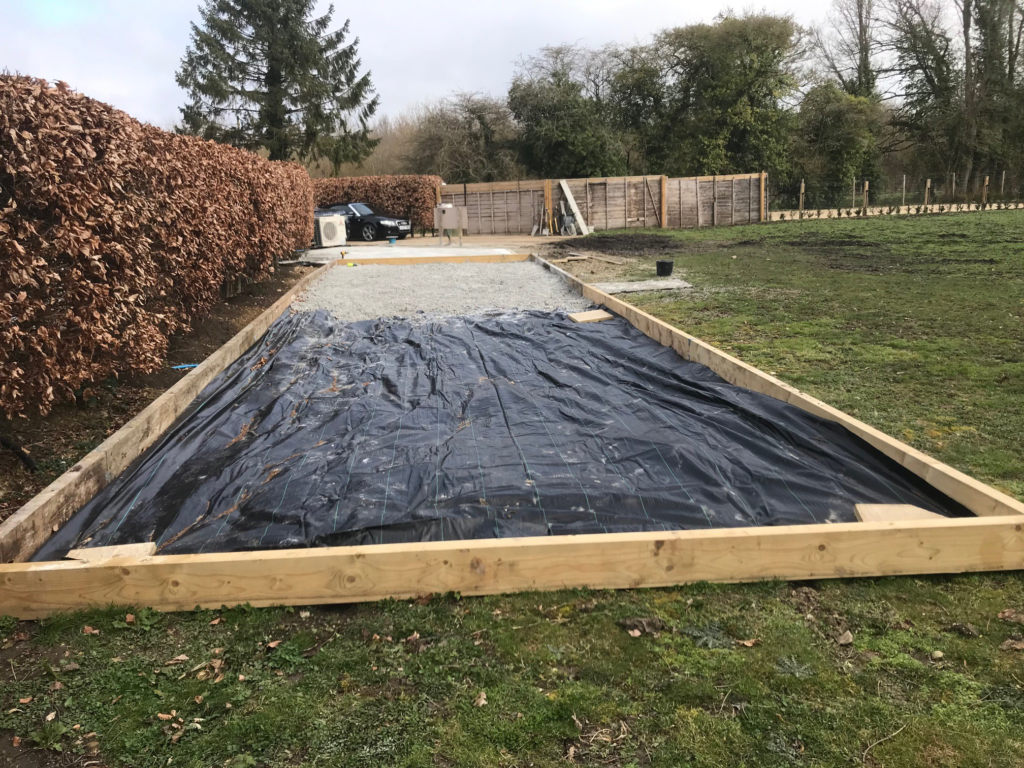
Firstly, I secured a frame made up of heavy oak sleepers, sprayed weed killer and then a membrane to prevent the most determined of weeds from sprouting.
So, my first challenge was our ground – made up of clay and chalk. Not great for drainage which is a particular problem for Péntanque pistes especially in Blightly where we have a bit more rain than Provence does!
DRAINAGE BASE: So drainage was achieved by a hardcore layer of 88mm using 35mm MoT Type 2. With an open consistency allowing water to pass through. And using a vibrating compactor to flatten (to which I added water to keep the required mix damp).
SUB-BASE: I then laid a sub-base of 20mm sized crushed Carboniferous Limestone (Dolomite) to a depth of 50mm, which I lightly compacted.
BASE: 10mm to 0 MoT Type 1 Crushed Carboniferous Limestone [Specification: BS EN 13285] to 25mm depth (2.3 tonnes/m3). Use a vibrating compactor I hammered this down firmly.
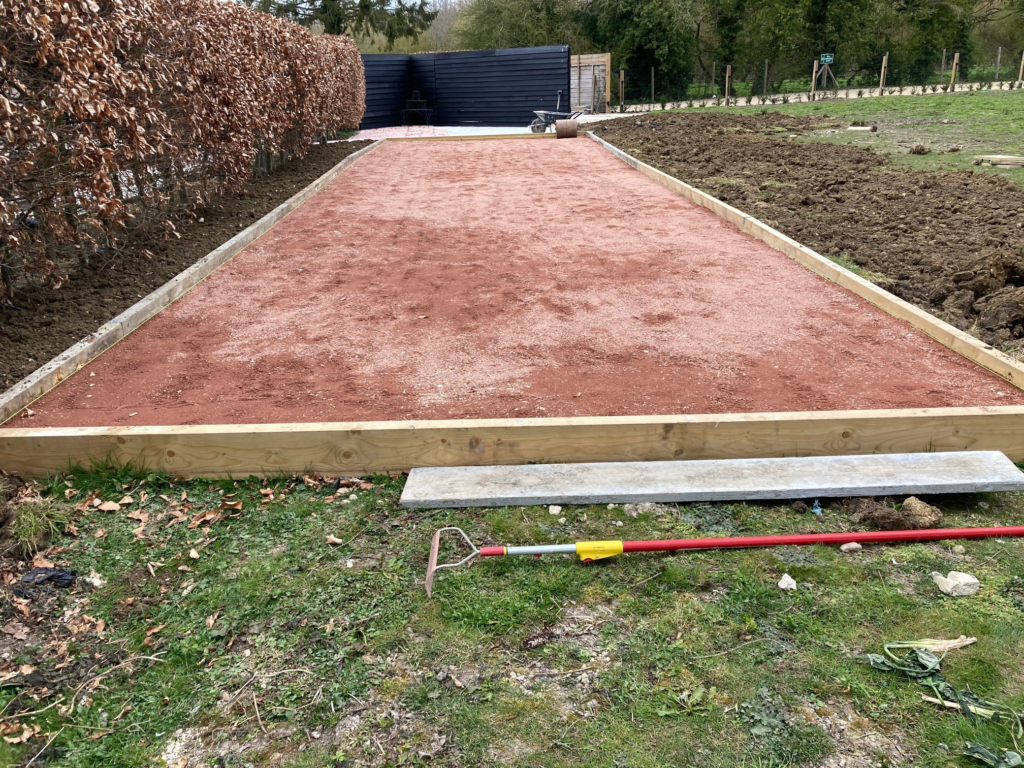
TOP BASE: 6mm to 0 Crushed Carboniferous Limestone 15mm to 5mm. This was roughcast by hand so undulations appear, which were then compacted down with a vibrator roller and watered to keep slightly damp (2.2 tonnes per m3) with a constituency of 60% grit to 40% dust.
PLAYING SURFACE: 10mm to 6mm of a fine layer of 4mm Crushed Carboniferous Limestone [Specification: BS EN 13242], roughcast by hand. Vibrated down and compacted, then dampened to finish between 3 and 6mm with undulations on surface. Coverage 2.1 tonnes per m3, 60% grit to 40% dust.
Exhausted? Who’d have thought it, but I had fabulous advice from Brian Forbes who is chairman of the Nottingham City Péntanque Club and constructs pistes all over the world, without him I would have simply built a sandpit!
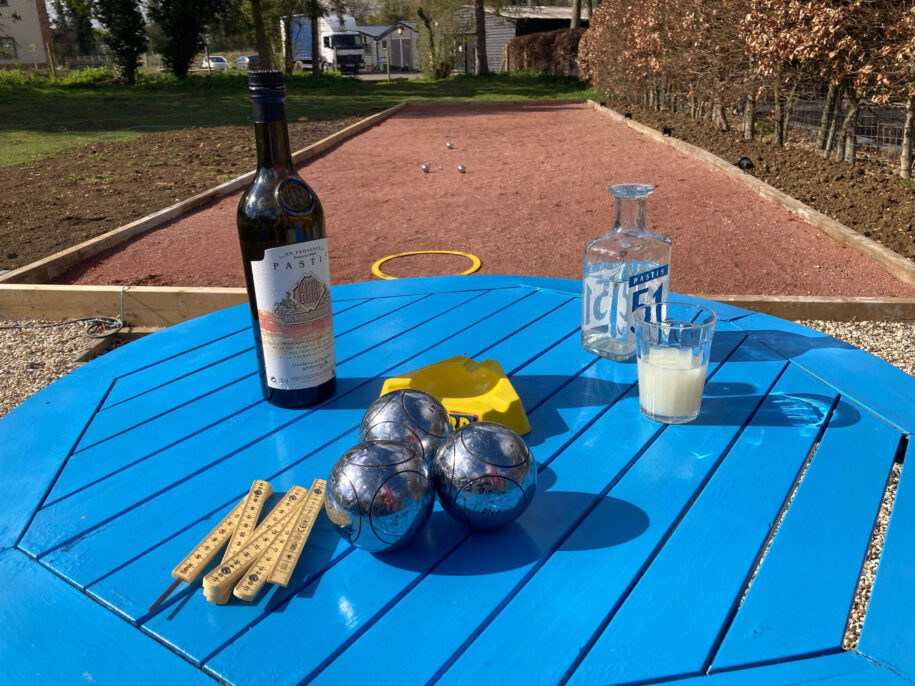
So, when you step out onto our piste there is approximately 188mm of material lovingly laid by hand under your feet and a consistency of limestone which will allow your Boule just to roll enough, not too much, just enough.
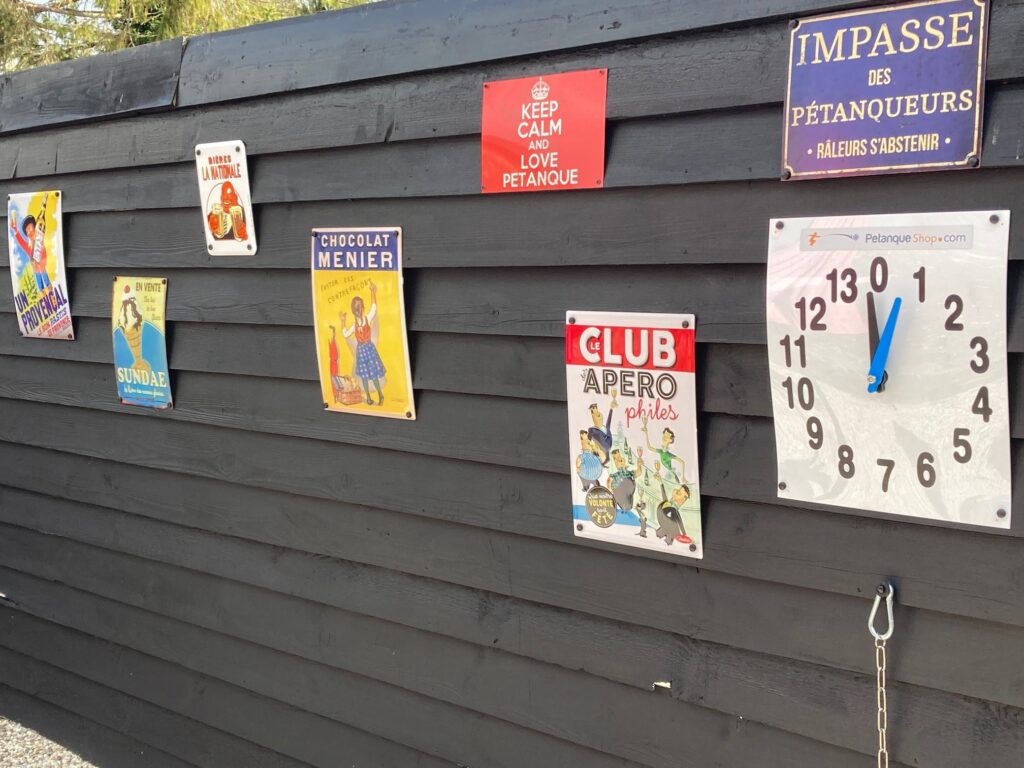
Now take a glass of pastis from our honour bar and embrace your inner Gaul and spend a few hours competing against your dearly beloved or friends while soaking up the sunshine on our adjacent French patio and dream of Provence.
Comments are closed.
We use cookies on our website to give you the most relevant experience by remembering your preferences and repeat visits. By clicking “Accept”, you consent to the use of all the cookies.
This website uses cookies to improve your experience while you navigate through the website. Out of these, the cookies that are categorized as necessary are stored on your browser as they are essential for the working of basic functionalities of the website. We also use third-party cookies that help us analyze and understand how you use this website. These cookies will be stored in your browser only with your consent. You also have the option to opt-out of these cookies. But opting out of some of these cookies may affect your browsing experience.
Necessary cookies are absolutely essential for the website to function properly. This category only includes cookies that ensures basic functionalities and security features of the website. These cookies do not store any personal information.
Any cookies that may not be particularly necessary for the website to function and is used specifically to collect user personal data via analytics, ads, other embedded contents are termed as non-necessary cookies. It is mandatory to procure user consent prior to running these cookies on your website.